

How Prosthetic Fittings Work Step by Step
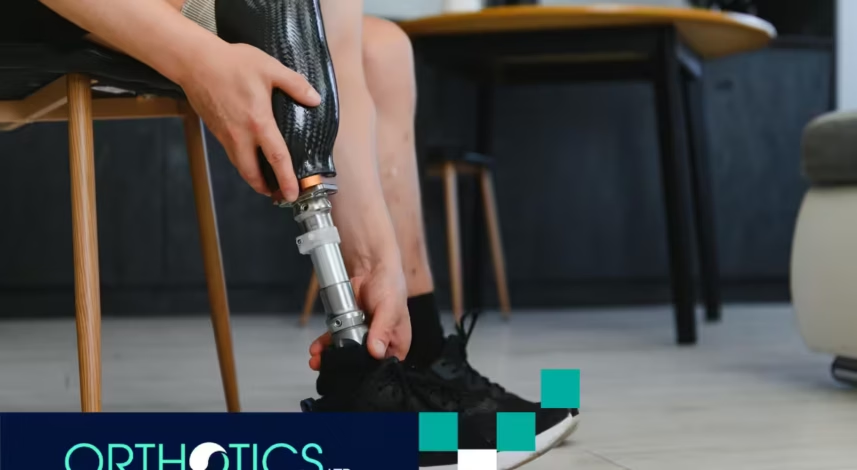
Key Highlights
- Prosthetic fittings involve a detailed, multi-step process to ensure comfort, mobility, and functionality.
- Each step is customized based on the patient’s needs, limb type, and lifestyle.
- Real-life case studies demonstrate how proper fitting improves mobility and quality of life.
- Collaboration between orthotists, patients, and therapists is critical for success.
- Understanding the fitting process helps set realistic expectations and ensures long-term satisfaction.
A Guide to Prosthetic Fittings
Losing a limb can be a life-changing event, but modern prosthetic technology offers solutions that restore mobility, independence, and confidence. A successful prosthetic journey, however, depends on proper fitting—a precise, multi-step process that ensures the device meets the user’s needs and lifestyle.
In our sessions, we’ve seen patients who struggled with discomfort and limited mobility find renewed independence after careful, step-by-step prosthetic fittings. Understanding this process can demystify the journey and help patients feel empowered throughout.
Step-by-Step Process
Step 1: Initial Consultation and Assessment
The first step in prosthetic fitting is a thorough consultation. This involves:
- Medical evaluation: Reviewing amputation history, residual limb health, and any comorbidities.
- Lifestyle assessment: Understanding daily activities, mobility goals, and occupational needs.
- Physical assessment: Measuring limb shape, length, skin condition, and muscle strength.
Case Example: A 42-year-old patient with a below-knee amputation wanted to return to cycling. During the assessment, we identified specific socket requirements and alignment adjustments to allow for comfortable pedal motion.
The consultation ensures the prosthetic is not just functional but tailored to the patient’s lifestyle, setting realistic goals for mobility and comfort.
Step 2: Casting and Measurement
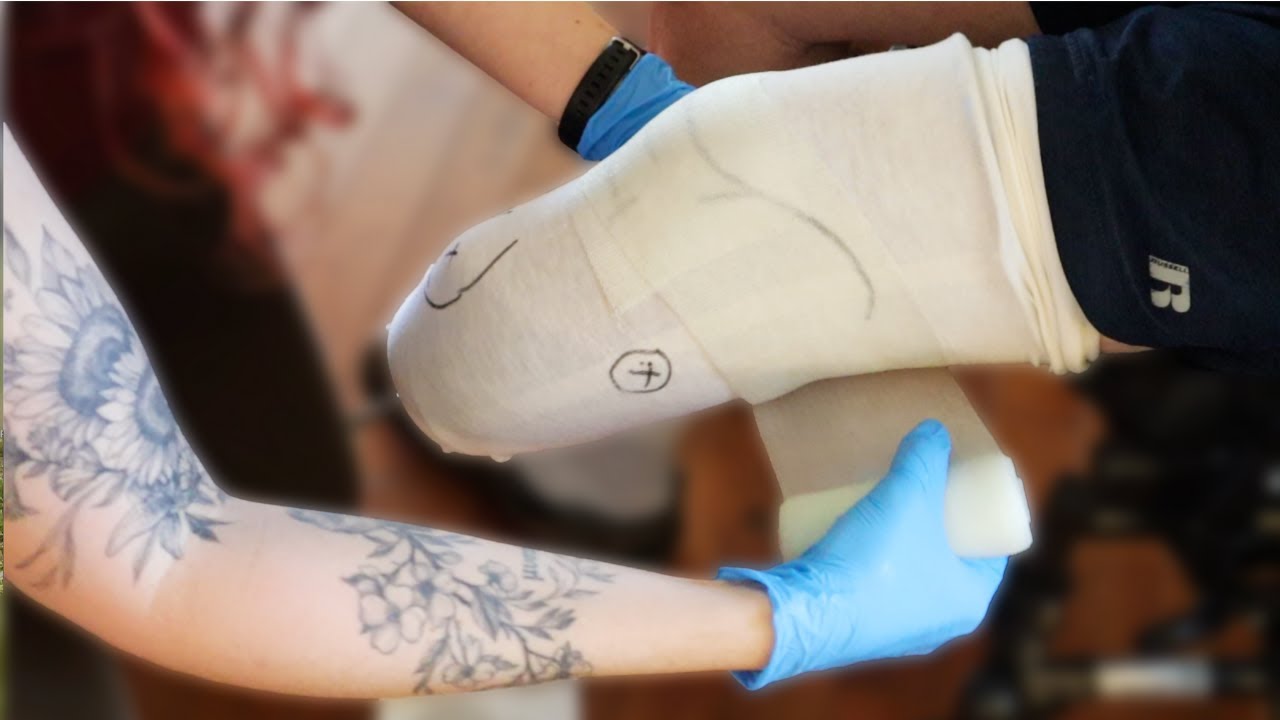
Once the assessment is complete, the orthotist creates a mold or digital scan of the residual limb. This step is critical for a custom fit.
- Casting: Traditionally, plaster or fiberglass casts capture the limb’s exact shape.
- Digital scanning: Modern 3D scanners provide precise measurements and allow for faster iteration.
Example from Practice: In one case, a patient with sensitive residual limb skin benefited from a digital scan, which minimized pressure points and reduced initial fitting discomfort.
Accurate measurements are the foundation for a well-fitting prosthetic. Even minor inaccuracies can lead to discomfort, skin irritation, or limited mobility.
Step 3: Creating the Socket
The socket is the part of the prosthetic that interfaces directly with the residual limb. Its fit is crucial for comfort and function.
- Trial sockets: A temporary socket is created to test fit and alignment before the final prosthetic is built.
- Adjustments: The orthotist checks pressure distribution, limb movement, and overall comfort.
Case Example: A patient returning to work after a below-elbow amputation initially experienced socket pinching during typing. After a few trial adjustments, the final socket provided stability and comfort for office work.
Step 4: Alignment and Initial Fitting
With the socket ready, the prosthetic limb is assembled for the first fitting.
- Alignment: Ensures natural gait, proper balance, and even weight distribution.
- Function testing: Patients practice walking, grasping, or using the prosthetic in simulated activities.
- Feedback loop: Patients provide real-time feedback to fine-tune comfort and function.
Example from Practice: In our sessions, a below-knee amputee initially walked with a slight limp. Adjusting the knee joint alignment and foot angle allowed the patient to achieve a smooth gait within a few hours.
Step 5: Dynamic Training and Rehabilitation
After initial fitting, prosthetic users undergo training to adapt to the device.
- Gait training: Teaches proper walking patterns to reduce strain and prevent falls.
- Strengthening exercises: Improves muscle control and endurance in the residual limb and surrounding muscles.
- Functional activities: Practice daily tasks to integrate the prosthetic into everyday life.
Case Study: A patient fitted with a below-knee prosthetic used therapy sessions to learn stair climbing safely. Within 4 weeks, they could navigate their home and workplace independently.
Step 6: Follow-Up and Adjustments
Prosthetic fitting is an ongoing process. Follow-up appointments ensure the device continues to meet the user’s needs.
- Monitoring limb health: Skin breakdown or pressure sores are addressed promptly.
- Adjusting alignment: Over time, minor changes may be needed due to limb volume fluctuations or activity level changes.
- Upgrades: New components or technologies can enhance mobility and comfort.
Example from Practice: A patient who initially struggled with knee flexion received an upgraded prosthetic foot with better energy return, improving running capacity for recreational sports.
Benefits of Proper Prosthetic Fittings
- Enhanced Comfort: Properly fitted prosthetics reduce skin irritation and discomfort.
- Improved Mobility: Alignment and training restore natural movement and gait.
- Increased Independence: Patients regain confidence in performing daily activities.
- Prevention of Complications: Reduces the risk of falls, joint strain, and secondary injuries.
- Long-Term Satisfaction: A well-fitted prosthetic ensures long-term usability and quality of life.
Common Prosthetic Types and Fitting Considerations
| Prosthetic Type | Key Fitting Considerations | Example Use Case |
|---|---|---|
| Below-Knee (Transtibial) | Socket fit, knee alignment, and foot type | Walking, running, cycling |
| Above-Knee (Transfemoral) | Knee joint mechanics, hip balance | Daily activities, climbing stairs |
| Upper-Limb (Below-Elbow) | Socket rotation, wrist/hand function | Typing, lifting, grasping |
| Upper-Limb (Above-Elbow) | Elbow joint alignment, weight distribution | Work tasks, recreational activities |
Tips for Patients
- Communicate openly: Share feedback on comfort and function.
- Commit to therapy: Training improves long-term success.
- Monitor skin health: Report irritation or pressure points immediately.
- Be patient: Adaptation takes time; small adjustments can make a big difference.
- Consider lifestyle: Ensure the prosthetic aligns with work, hobbies, and mobility goals.
Final Thoughts
A well-fitted prosthetic can transform a patient’s life, restoring mobility, independence, and confidence. By following a step-by-step process and working closely with experts, patients can ensure comfort, functionality, and long-term satisfaction. For personalized prosthetic fittings and professional guidance, consider consulting Orthotics Ltd., where experienced orthotists specialize in tailored solutions for every individual. Reach out today!Frequently Asked Questions
1. How long does a prosthetic fitting take?
The fitting process can range from several weeks to a few months, depending on limb complexity, patient needs, and prosthetic type.
2. Can I walk immediately after my prosthetic is fitted?
Patients usually undergo gait training and may need several sessions to walk comfortably and safely.
3. How often do I need adjustments?
Follow-ups are recommended periodically, especially during the first year, to address limb changes and optimize comfort.
4. Are custom prosthetics better than standard options?
Yes, custom prosthetics provide a better fit, improved function, and reduced risk of complications compared to off-the-shelf devices.
5. Can prosthetics be used for sports or recreational activities?
Absolutely. Specialized prosthetics are designed for running, cycling, swimming, and other activities, with adjustments made during fitting for performance and safety.
Sources:
- https://pmc.ncbi.nlm.nih.gov/articles/PMC10935386/
- https://www.physio-pedia.com/Prosthetic_rehabilitation
- https://www.hopkinsmedicine.org/health/treatment-tests-and-therapies/amputation/amputation-recovery-and-rehabilitation
- https://pamhealth.com/resources/life-after-amputation-what-to-expect-for-the-new-amputee/
- https://ouhsc.edu/bserdac/dthompso/web/gait/pobmk/ampex.htm
